Showing posts with label butter london. Show all posts

Review: Butter London Patent-Gel Top and Tails

Butter London Patent-Gel Top and Tails Polish Set (retails for $40 at butterlondon.com)
We recently took a trip to London, and were super excited to try out two different no-cure gel base and top coat sets to see how they fared over 9 days of travel. Since a UV-cured gel manicure lasts around 14 days, we assumed that the no-cure alternative would make it around 9 with no major problems - We were wrong. While we did achieve a plush, gelly look for our mani, as perfectionists we were disappointed with the overall wear time.
Deborah Lippmann Gel Lab Base and Top Coat
48 hours
Butter London Patent-Gel Top and Tails
48 hours


We have used the Deborah Lippmann gel set before with 3-4 days of no-chip wear time, so we used that as a comparison on the left hand - see the picture to the left for this look after 48 hours compared to the butter London gel set after one day on the right. For colour, we used Misa Foggy Breath at 3AM. While the Deborah Lippmann set had more chips after 48 hours - you can still see a small chip on the pointer finger of the right hand.

After 4 days, both hands were too chipped to continuing wearing (especially if you hate chipped nails). Interestingly, the butter London top coat adds most of the thickness, while in the Deborah Lippman set it is the base coat which adds that thick gel look to your mani. Both polishes remained plush and gel like for the entire wear.

Overall, Butter London was the better set for resisting chips, however once it chipped the rest of the nail seemed to chip faster than with Deborah Lippmann. We recommend the Butter London set to anyone looking to perfect their nail look a day in advance of a major event without worry of chipping. It is also worth noting that we didn't avoid washing dishes or showering in the first day of wear, which can increase wear time!

Have you tried either of these sets in search of the gel look?


Dislcaimer: Some of these products may have been provided to us by the company/PR for our honest consideration and review.


Swatched: Butter London Wellies, Cotton Buds, and Giddy Kipped (Colour Clash Collection)

Today on the blog, we have a few colours from the recent butter London collection, Colour Clash. We picked our faves, and gave them a quick swatch. Butter London has consistently represented great quality polish for us, and what we've seen of this line does not disappoint! 

First up, we have Cotton Buds - a pure, creme white. Every nail artist knows that a good white is essential. The worst possible thing that can happen when trying to do a white base is streaking.  Luckily, this polish did not disappoint and gave a perfect creme white finish in two coats. This swatch is without topcoat, and as you can see the finish is still quite shiny. This will definitely make it in to some nail art in the future!


Next up we have Wellies, a dusty lime green that edges on the yellow side. Wellies (or rain boots) are essentials in London and we actually love how unique this colour is! Unfortunately, it was a bit on the patchy side for our taste even with three thin coats. However, we do like this colour and will work with it for some fun designs.


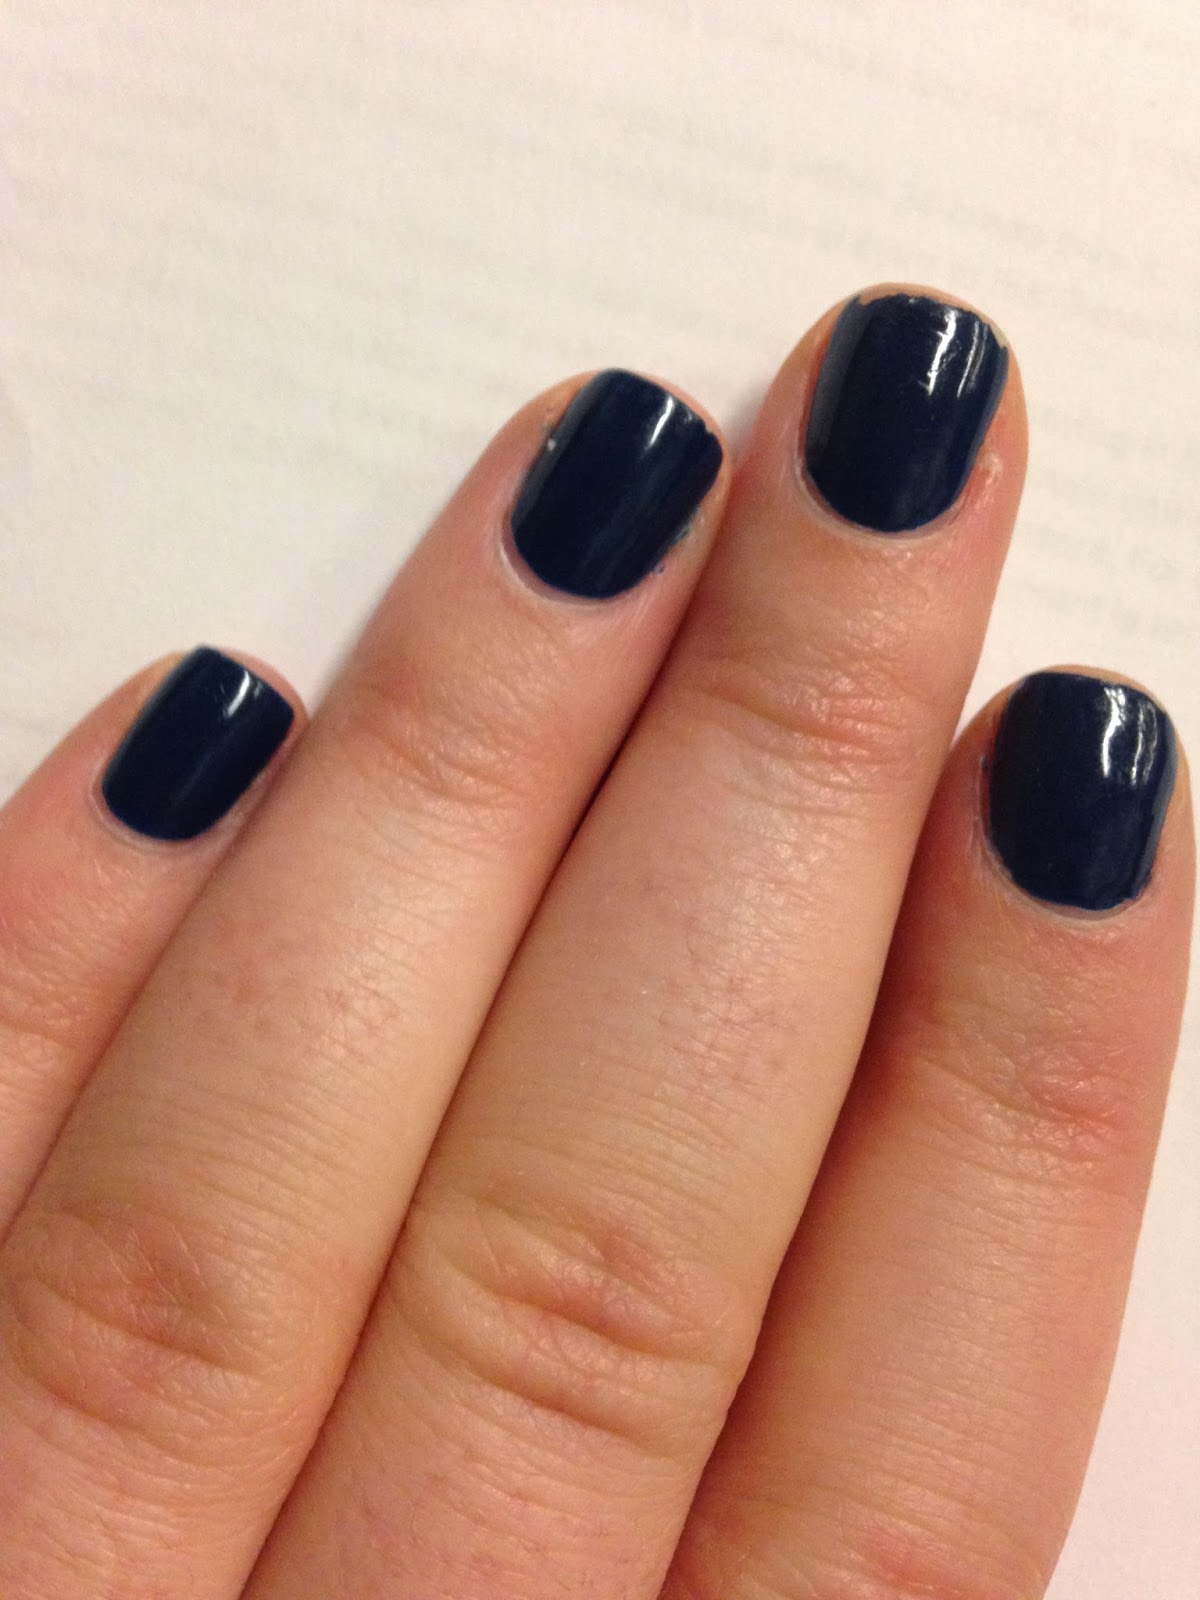
Finally, our last pick was Giddy Kipper. This polish is indigo-blue with a silver shimmer. We love this for fall. Can't. Get. Enough. The formula on this is perfection, and it definitely pulls for our favourite wear-alone shade. Two coats are really all you need with this polish - the formula is up to butter London standards! 


There are three other colours in this collection, Pimms (sunflower yellow creme), Cake Hole (bright pink creme), and Silly Billy (orange creme). We love this fun collection, and hope that Cotton Buds stays in the permanent line up. For an easy nail art look using these polishes, cheek out our instagram, @knailart!

Disclaimer: These products were provided to us by the company/PR for our honest consideration and review.

Spring Striped Mani


Spring has sprung! Or is that just our nails? Regardless, we're getting in to the season by sporting some bright and pastel stripes on our fingertips. For this look we used a variety of brands and colours, but the fun of this mani is mixing and matching! Gather a bunch of your favourite polishes and go with the flow. We used striping tape, available here, to create the straight edges for our lines - but you could just as easily use a thin paint brush available at your local craft store.


We started with OPI's Alpine Snow for our base, a classic white with great coverage. We used Seche Vite top coat and let that dry for about 10 minutes, to ensure the striping tape didn't strip the white polish. Then we applied striping tape at different intervals to achieve the bands of different thickness. We used a few of our favourite colours, examples above, to paint within the boundaries of the striping tape. Alternating the order of your colours on each nail makes this mani even more playful, we tried to keep each nail different! Then, after a few minutes drying time, we carefully peeled off the striping tape and finished with a second coat of top coat! Voila, stripes for spring!

Red Rose Nails ft. Butter London


If you didn't know, Valentine's day is coming up. Shocked? Us too. We've been the culprit of the done to death heart nail art many times, but this time we decided to go for a fresh take on Valentine's day nails - red roses! Thanks to Butter London's 25% off Reds Sale, we picked up some classic reds including Blowing Raspberries, Knees Up, Pillar Box Red, and the classic Union Jack Black.

Close up of the middle and ring finger
We have been feeling like a full hand nail art was in store - go big or go home, right? - and so we painted each nail to look like a bouquet of red roses. We started (post base-coat) with Knees Up, which is a gorgeous metallic red which catches the light behind the roses. We then used a nail art brush to make swirl patterns (making up a circle) of Blowing Raspberries and Pillar Box Red covering most of the nail in circles, or 'roses-in-progress', to create depth. We then used a steady hand and a super-thin nail art brush to paint the shadows of the roses in Union Jack Black. Finish with topcoat, and voila - a wilt-proof red rose bouquet!

Full Red Rose Nails
If you're feeling like the full hand is too much for you, we also love this look on the accent nail, with a full hand of Blowing Raspberries (which may just be our new go-to berry shade) to contrast the metallic. What mani will you be rocking on Valentine's day?